How Do You Design a Perfect Backyard?

As there are several different tastes and styles available, how to design a backyard might seem difficult to conceptualize. However, there are elemental concepts you can follow to design your backyard in order to make sure it includes all the necessary components for a pleasing and stunning space. Moreover, if you are selling, you can transform your yard into a nice and relaxing spot for those interested in buying a house in Arizona. So, how do you design a perfect backyard? Let’s find out.

Design Your Backyard Layout

How to Design a Backyard

According to Saturn Pool Builders, the key to building the perfect backyard with a pool is to focus on balance. They emphasize the importance of considering the pool’s placement, surrounding greenery, and outdoor living spaces to create a harmonious and visually appealing outdoor oasis.

Follow the next tips to include the basic elements your backyard needs to suit your needs, especially now that it seems that newer homes come with small backyards more frequently.

Choose Interesting Plants

While doing your backyard garden plans, make sure to pick plants that do more than just bloom to extend seasonal displays.

Design Primary and Secondary Paths Carefully

While planning your backyard garden design, make sure the primary paths are at least 5 feet wide. Secondary paths can be smaller, but not less than 3 feet wide if possible.

Design Your Steps for Comfortable Navigation

Comfort is a very important element of how to design a backyard. After determining the rise, calculate the ideal dimensions as following: 26 inches – (2 x the rise) = the run. If your stairway has more than 10 steps, place landings at every fourth or fifth step. Keep in mind they should be at least as deep as the steps are wide.

Add a Pergola or an Arbor

Besides using garage door technology to enhance your home, there are some extras you can add to your yard to improve your home’s appeal. For safe clearance, make sure this structure is at least 7 feet tall. Also, if you plan to train climbing plants to grow over it, add another 18 inches.

Don’t Crowd Your Patios or Pathways

To avoid crowding your patios or pathways, place your plants at least 2 or 3 feet back from the edge, especially those plants taller than 30 inches. Moreover, make sure to keep your yard clean to prevent or stop a pest infestation.

Create a Balance

How do you design a perfect backyard? Although it might not seem simple, a helpful key to achieving a great backyard is to balance your lawn and planting areas. Make sure your low-maintenance garden can be enjoyed for its beauty and used for recreation.

Locate Utilities in Advance

An important aspect of how to design a backyard successfully is to locate utilities before digging in, to avoid hitting pipes while excavating trenches or making grade changes.

Create a Spot to Relax

How do you design a perfect backyard? Make sure to create a relaxing environment. To do so, add trees, shrubs, and large-scale perennials to block out harsh winds and hot sun.

Backyard Garden Design

Add a Safe Walkway

Safety is important in how to design a backyard as well. Choose paving materials with a coarse texture and place them at a 1 to 2 % slope, so water can runoff.

Design Comfortable Patios

When it comes to your patio furniture, how do you design a perfect backyard? Make sure everyone’s comfortable. To do so, make sure there are at least 4 square feet of space per person. Your family and guests will appreciate it!

Leave Enough Space for Your Plants Final Size

While making your backyard garden plans, knowing the mature size of a plant is very important. This will allow you to leave enough space between one plant and another for the moment they grow to their ultimate size.

Backyard Garden Plans

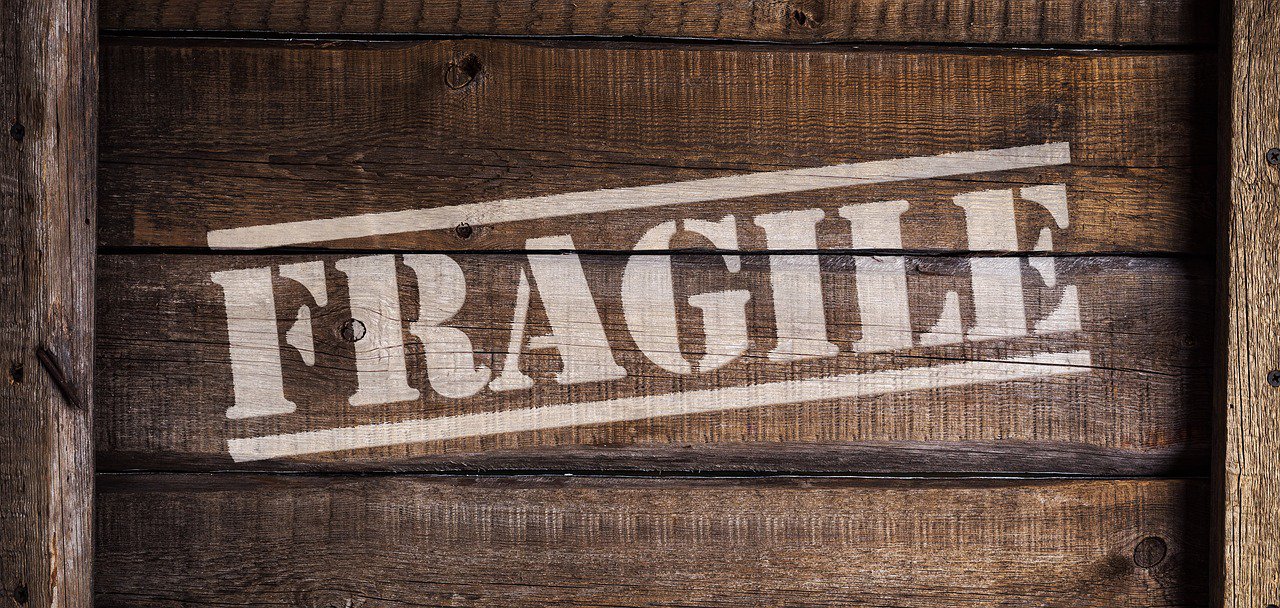
What are the Things That Break Easily?

So, if you’ve achieved your goal of buying a house in Arizona or any other place you had in mind, you know what your next step is: moving. Although we suggest leaving packing to the pros, we know there are lots of DIY movers who want to do the task. This article includes a list of things that are fragile and are common in our homes. This way you’ll be able to pay special attention to those fragile objects and avoid breaking them during the moving process.

Fragile Objects
Fragile Objects

There’s no doubt that there are several fragile items in your home, but they’re all different which also means different packing. This is why we’ve got some tips on how to protect those things that break easily.

Things That Break Easily When Moving

Besides finding out moving tips and tricks, you need to keep in mind the list of fragile things you probably have at home and need to keep safe during the moving process.

1. Mirrors

We start our list of fragile things with mirrors, an object that is certainly present in all homes. In order to protect them, use a flat box or a custom wood crate to provide extra protection. To create a padded bed for the mirror, line the flat box with crushed packing paper. Don’t forget to use multiple sheets of eco-bubble to wrap the mirror completely, and tape it tightly.

2. Audio Equipment

Your stereo could be damaged if it were packed without any padding between its pieces. So, if possible, try to pack your audio equipment in its original box. If you don’t have these boxes anymore, use double-corrugated boxes instead. Line the box with crumpled packing paper right after double-taping the bottom of the box in both directions. Use eco-bubble to wrap each component separately. Make sure to place your stereo vertically and do the same with the rest of the components. Be careful not to stack and don’t forget to stuff packing paper in any open spaces.

3. Lamps

Lamps are among those fragile objects that are also difficult to pack. Use the eco-bubble wrap to cover every inch of the lampshade and fill its interior cavity with packing paper. Then, fill the box with packing paper to keep the shade from moving around. Avoid using newspaper or placing anything above the shade.

4. Plates

Wrap each one of these fragile objects in packing paper from three to five times to keep them safe and cushioned. Also, use crumpled packing paper at the bottom of the box to cushion it. Place the wrapped plates inside, vertically in one layer, and add packing paper on top. Continue with these layers until the box is full, and don’t forget to add crumpled packing paper to fill empty space. After placing them in the moving box, use lots of tape on the bottom and top; using multiple strips in both directions.

5. Glasses

There’s no doubt that glasses are among the main things that break at home. Therefore, it’s no surprise that we need to be extra careful with them while moving. To wrap them with packing paper, place the glass horizontally. Then, grab a corner of the paper, roll the glass into it, and tuck in the sides of the paper. Depending on how thick the glass is, repeat the process as needed. Use crumpled packing paper to cushion the bottom of the box, and then place the wrapped glasses vertically in one layer. Repeat the layers with packing paper in between and in any empty space.

6. Books

Although these aren’t probably the first thing to pack when moving, you should keep an eye on them. Books’ covers and edges can get damaged when they’re smashed together. To keep them safe, stack them horizontally. Place the heaviest books at the bottom, but avoid making the box too heavy. Don’t forget to fill empty spaces with packing paper.

List of Fragile Things

7. Artwork

Make sure there aren’t any empty spaces in the moving boxes that contain your artwork. Remember that boxes with gaps collapse and break what’s inside of them. To keep your art pieces safe, line the bottom of a box with crumpled paper. Then, place your items inside the box and use paper or eco-bubble wrap to stuff the front, back, and top of the box.

8. Cleaning Supplies

These may not be fragile objects, but they’re definitely items that could damage other things. To restrain them from leaking, remove each bottle’s cap, and use plastic wrap to cover the opening. Then, screw on the cap tightly and secure it with tape. Place the bottles inside a box and use packing paper to prevent them from moving around. Make sure to tape boxes properly on the bottom and top. Don’t forget to label the boxes and add directional arrows pointing up!

9. Picture Frames

To keep your memories in one piece, line the bottom of the box with crumpled packing paper. Then, use eco-bubble or packing paper to wrap each picture frame, and place them vertically inside the box. Don’t forget to place more packing paper between the pictures, on top, and in any empty space.

10. Liquor Bottles

Although they’re last on our list, it doesn’t mean they should be out of your packing house checklist. To protect your liquor bottles from breaking, use a small, cell box and use more than one strip of tape on the bottom. Make sure the caps are properly sealed. Tighten them and tape them to the bottles. Use from three to four layers of packing papers to wrap the bottles and add some tape to secure them. Place the bottles inside the box and fill empty spaces with more packing paper.

Things That Are Fragile

Now that you understand what are the things that break easily, you will (hopefully) pack these properly. It also helps to know how to move fragile objects to ensure nothing breaks on the way.

Why Would I Need to Refelt a Pool Table?

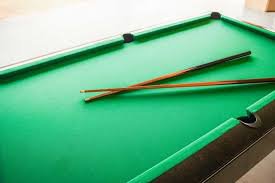
So, you just went to go play a game of pool on your pool table and you notice a small scratch mark. This creates some concern as it can cause your shots to mess up, and you don’t want to break your winning streak. This makes you wonder if you should refelt your pool table before your next game. Or maybe you question, “why would I need to refelt a pool table?” if it’s only a scratch. Well that’s the thing, that small mark could cause issues moving forward including more rips and tears in the felt. Once it becomes to ripped, there is no playing any games until it’s fixed.

Refelting a Pool Table

First off, we need to discuss what exactly pool table refelting is and how would you refelt your pool table? Pool table refelting is the process of eliminating and replacing the felt or cloth cover on the top of the table. It is a common process that happens for all pool tables. Pool tables in need of refelting can be in hostels or hotels, as well as in other places. The easiest way to complete a pool table refelting is to hire a professional. That way, you can have someone visit your location instead of attempting to transport it by car to get the refelting done. It is important that whenever your pool table is moved, you ensure that it doesn’t damage your house by being dropped or hitting any walls.

Why Would I Need to Refelt a Pool Table?

Possible Customizable Features

Color: You can add various colors to your pool table and even install logos on them.

Standard Felt: Most people prefer the blended fabric that weighs about 21 ounces. It’s quite heavy. However, it plays very well. It is also regarded to have a better nap than worsted wool. Although you can expect some fuzzing to occur, the standard felt may last anywhere between 7 to 10 years with some normal wear and tear. Expect some pool table recovering along the way to keep the felt in mint condition.

Premium Felt: This is also known as worsted wool and is ideal for pool players that enjoy a faster table. The felt has nearly no nap, and the cloth is much tighter. The table balls tend to move much farther and faster. The worsted wool tends to last much longer, ranging from about 15 to 20 years. The fuzzing will occur much less compared to the standard felt material. Many tournaments use pool tables with worsted wool because of its amazing durability and performance. It also has a better aesthetic look, but it costs about the double the amount. Even if you get the worsted wool felt, you should still learn how to refelt a pool table.

Cost for Pool Table Felt Replacement: The cost varies from about $150 to $250 when trying to refelt a pool table. It will depend largely on the table size and manufacturer. Once you learn how to refelt your pool table, then begin considering the material and costs of the replacement.

The Cost and Process of Refelting Your Pool Table

If you’re planning to hire a professional to install your felt, it will usually cost between $175 to $225. Felt typically comes in several pieces, which include a piece for the cushions, surface, and table bed.

First, the professional will remove the tabletop felt, and have the new one stapled or glued onto the slate. High-quality tables usually have a backing somewhere on the slate to make gluing or stapling easy. If you decide to glue the felt on, it must be stretched across the table. If applied incorrectly, that can cause movement similar to a carpet.

Why Would I Need to Refelt a Pool Table?

Make sure to remove the existing table cushions and the current felt as well. You’ll need to trim the new cushion felts and have it wrapped and glued to every cushion. Then reattach the cushion to the side rails.

Last Minute Tips

Now you understand why you would need to refelt your pool table and what factors you would need to consider. Do keep in mind that you may need to figure out how often to refelt a pool table in order to keep your table in the best shape. Reaching out to a professional regarding any concerns you may have is always the best route of action.